Sunday, January 31, 2010

Vitamin D & Some Home Harvesting

Its close to bedtime and I am beginning to write now. This weekend has been a rather staid one, especially after the torrid soccer party last Saturday.

P’s tangerine plant got all the attention it needed. And I got all the Vitamin D that my doctor says I am deficient of!

Our “green house” living room made sure I basked in the sun when it was unbearable outside at –18 degrees C. Its this same effect which has been working wonders on our tangerine plant as well.

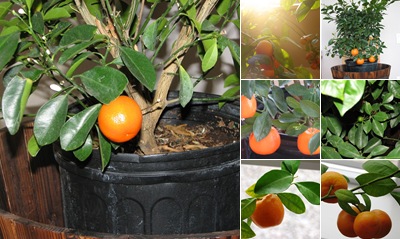
Tangerine turned three this year. After the repotting project that P and I did last summer, we saw the results almost immediately. I am glad we did not mess it up, ‘coz as I later found out we hadn’t followed any repotting rules at all. From a 12 inch pot, Tangerine saw itself being transferred to a humongous 24 inch pot! Talk about feeling displaced. Looks like I was not the only one.

We immediately saw new evergreen leaves sprouting everywhere. I guess the organic potting soil that we got helped all that new growth in an otherwise slow to grow plant if kept indoors. From a bonsai, we saw Tangerine grow into a full blown four feet, multi-stemmed plant.

I still remember how its sweet-smelling white blossoms filled our living room. Each time P and I spotted a dark green fruit, we would feel elated like new parents watching their toddler take its first step, and quickly Tweet about it!

Stimulated and happy, Tangerine symbolizes life in our living room. Laden with dark green fruits, it soon transformed itself into a plant flushed with a copper-orange fruits. And how glorious it looked under the winter sun!

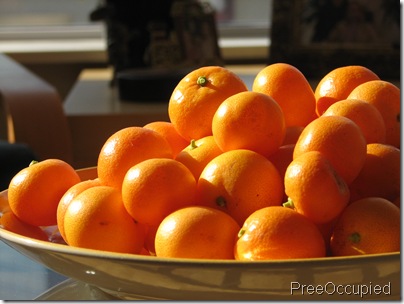
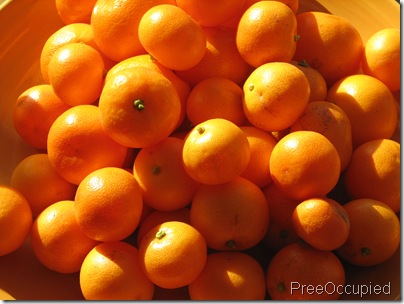
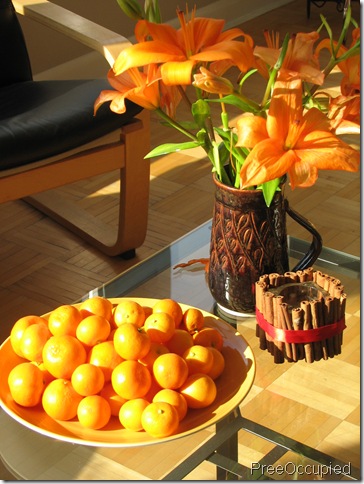
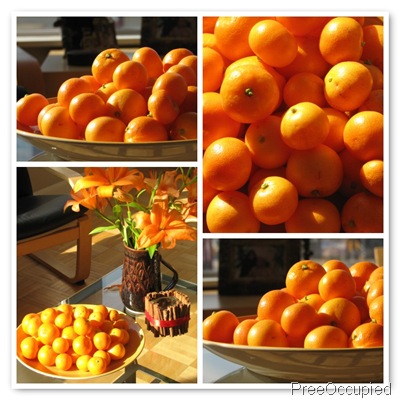
When we plucked all the fruits from Tangerine this Saturday, there were 49 little oranges at the last count. But if I add two more which I had squeezed in for my face pack on Friday, that makes it a hefty 51!

That should make P and I happy harvesters.

Sharing with you some pictures of our living reflection from a dream…Tangerine, Tangerine.
IMG_5349IMG_5351

IMG_5352

Orange mosaic

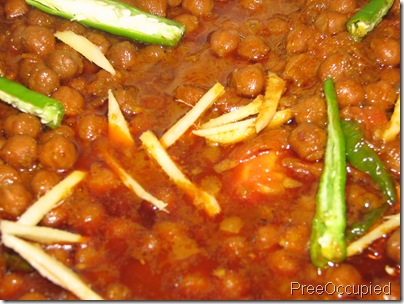
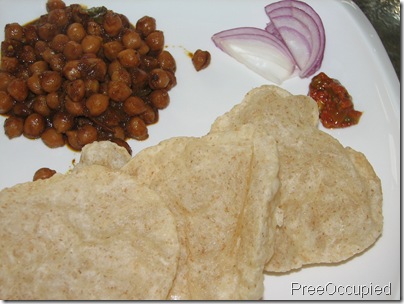
Sunday Brunch ~ Chana Pindi & Puri

2 cups chick peas/ kabuli chana soaked overnight
1 medium onion finely chopped
2 tsp garlic paste
2 tsp ginger paste
1 large tomato cut into thick slices
4-5 green chilies sliced
½ inch julienned ginger
2 tsp red chili powder
1 tsp turmeric powder
MDH Chana masala
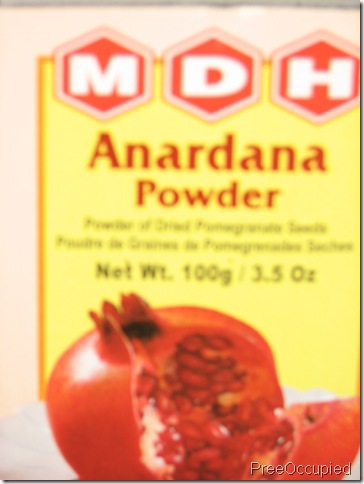
MDH Anardana powder
1 tsp garam masala
½ tsp black pepper powder
1 tsp coriander powder
1 tsp cumin powder
1 tsp cumin seeds
Ghee for cooking
2 tea bags
Salt

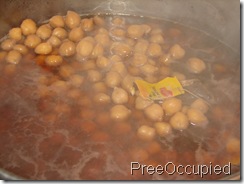
IMG_5354 Boil the chick peas with ½ tsp salt and two tea bags until you can nicely squish a chick pea between you finger tips. Do not throw the water you have boiled the chick peas in.

You can trash the tea bags though! :-)

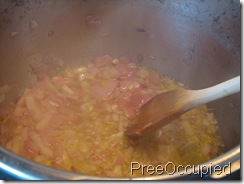
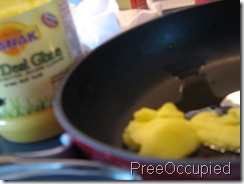
IMG_5355 In a thick bottom pan, heat 2 tbsp ghee, add the chopped onions and salt and fry till golden brown. Add the ginger-garlic paste and sauté some more.


IMG_5358 Now add the already boiled chick peas, without any liquid. Keep stirring it.


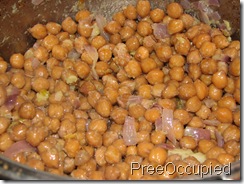
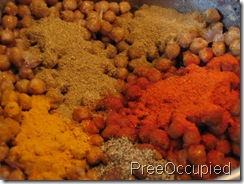
IMG_5359 Add red chili powder, black pepper powder, turmeric powder, coriander powder and cumin powder. Keep frying the chick peas with all the spices adding little amounts of the liquid you saved from boiling.
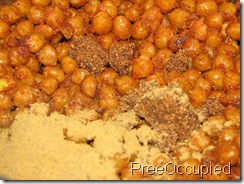
IMG_5365 Now add the MDH Chana Masala, Anardana powder and the garam masala. The chick peas by now would have got a nice, rich dark color.


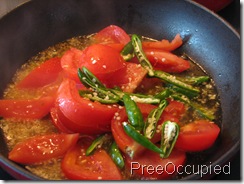
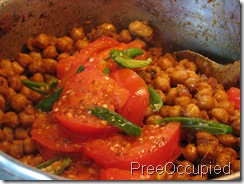
IMG_5363 In another pan, heat ghee and add cumin seeds, sliced tomatoes and sliced green chilies. Press the tomatoes with the bottom of a ladle to release juices from them.

IMG_5364 Add this tomato mix to the chick peas. Cover with a lid and cook for about 5-6 mins.


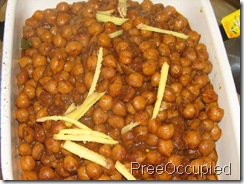
IMG_5367 For that last touch of finesse, garnish the Chana Pindi with sliced green chilies and julienned ginger.


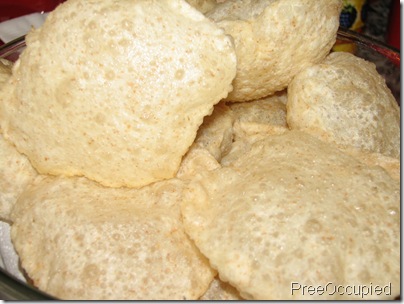
IMG_5373 Serve hot with Bhaturas or Puris with some sliced onions and pickle.


IMG_5368

P.S. Though Chana Pindi is traditionally made with pomegranate seeds (Anaar Dana), but who cares for tradition (over convenience) when even the basic ingredients of Indian cooking are quite a find in phoren land! Hence the MDH Masala is a very good alternative, as that too has the pomegranate seeds. Surprisingly, this almost tastes like the Choley you get in Haldiram’s, maybe even better.

(This is an earlier note. I added Anardana powder to my Chana Pindi today and the taste pretty much remained the same, if not better!)

P.P.S. My vegetarian friends, I hope you are not complaining now.

Gee! I am blazing my own trail of culinary experiences…

IMG_5372

IMG_2611

IMG_5375

Saturday, January 30, 2010

Chef @ Home ~ Gosht Biryani (Basu Style)

This is a Basu household specialty. Baba (my father-in-law) first learnt it in Abu Dhabi from a Pakistani colleague’s wife. “P” learnt it from his dad and now emulates it spice by spice, among other things like the entire process of marinating the meat overnight, all the authentic ingredients like saffron, mace, et al.

Without any biases, I can say that Baba’s biryani is one of the best I have ever had. Hubby’s probably comes third on my list, just after my Mum’s!

I am posting the recipe and process to make this easy kachchi biryani. It’s really simple, but it’s all about timing!

If you are in Delhi (South), I recommend the meat from the mutton shop in Malviya Nagar Market. They have the most amazing, succulent mutton! We usually use New Zealand Spring lamb which we get easily in the supermarkets.

Since I have good Biryani Karma, and had this same biryani both in India and here, I just know that the mutton you use does all the magic- I am talking about the mutton with bones, which release all the real juices! The mutton (goat meat) from India makes it the most delectable and rich in taste, authentic biryani! A lamb biryani is just a tad second on the flavor barometer!

But like they say – When in Rome, Make Biryani @ Home!

The ratio for this recipe is 1:2 of Rice: Mutton.

Here is the recipe for the Mutton (Gosht) Biryani:

500 gms Basmati rice
1 kg lamb or goat meat

Ingredients for the meat marinade:
• Yogurt 300 to 400 grams
• Chili paste from 5 to 6 green chilies
• Garlic paste from 6 to 7 cloves
• Ginger paste from 2 inches long ginger
• Mace crushed or powder half teaspoon
• One and half teaspoon of salt

Ingredients for making rice:
• Shah jeera 2 or 3 teaspoon (black cumin seeds)
• Cinnamon 3 to 4 sticks
• Cardamom 6 to 7 pieces
• Ghee 1 tablespoon
• Bay leaves 2
• One full tablespoon of salt

Ingredients for final mixing of rice and meat:
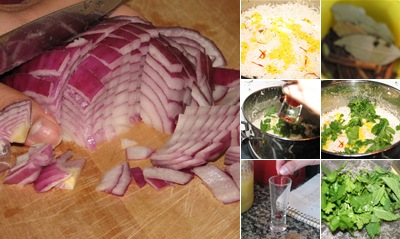
• Dissolve half teaspoon of saffron in 3 tablespoons of warm water in a cup or glass, keep covered
• Separated coriander leaves and mint leaves 3 tablespoons

Ingredients for preparing the meat:
• 2-3 medium size onions chopped
• Enough vegetable oil (5 to 6 table-spoon) to fry onion
• One tablespoon of ghee to add flavor

Preparation:
• Marinade the meat after mixing all the listed ingredients in a deep pan for 2 to 3 hours
• In a thick bottom pan, fry chopped onions in oil and ghee after heating. When chopped onions become glossy / brown pour marinated meat, stir occasionally and cook till meat is done. While cooking add additional salt (one & half teaspoon). Cover with the lid to reduce cooking time. Remove lid only while stirring and cook on slow fire. Also ensure that thick gravy about one to one & half cup remains after the meat is done
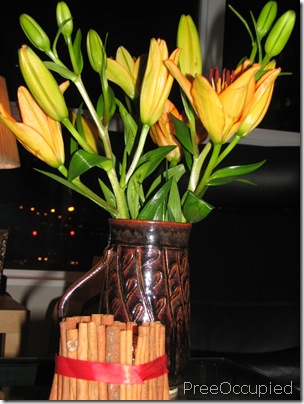
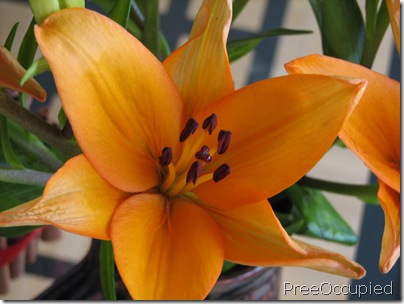
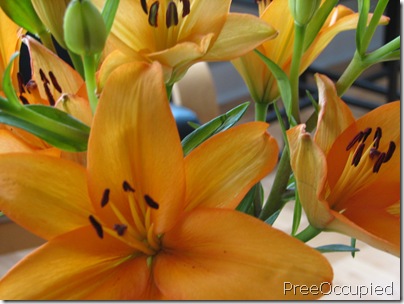
• Heat adequate water (for half kg rice) in a separate vessel, pour all the listed ingredients for rice and pour clean rice after water starts boiling. When the rice is cooked (inside rice will be little hard, means little under cooked), drain water and keep the prepared rice aside
• Spread coriander / mint leaves over the cooked meat and then pour and spread cooked rice over the meat uniformly. Sprinkle the dissolved saffron over the rice uniformly
• Cover the vessel with a lid and heat on real slow flame for 2 minutes. Turn off the heat and biryani is ready to serve.

WARNING: The following pictures may lead to sharp rise in appetite.

IMG_5246

Friday, January 29, 2010

Chef @ Home ~ My Mum’s Layered Biryani

I have been meaning to share this biryani recipe for a long time. Especially for my best buds in Delhi- “A” and “P”, who have been wanting to make this for their respective families.

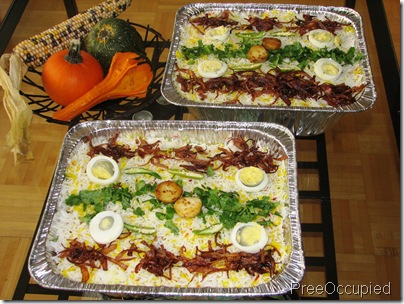
As long as I can remember, my Mum’s been making this biryani – both with mutton and chicken. Its the multiple layered biryani, and is fully cooked before you “assemble” it, unlike the kachchi biryani.

Here is the recipe:

1 kg goat meat/lamb/chicken (with bones)
2 1/2 cups Basmati rice
Half cup natural yogurt/dahi
3 large red onions
2 tablespoon ginger-garlic paste
2 tablespoon red chili powder
1 tablespoon turmeric powder
1 tablespoon coriander powder
A tablespoon full of whole garam masala
2-3 bay leaves
2-3 hard boiled eggs sliced
5-6 small boiled potatoes sliced
Green chilies slit lengthwise
Few sprigs of coriander/cilantro chopped fine
Few drops of red and yellow food color
Veg oil for cooking
Salt

Marinade the meat for about 2-3 hours with yogurt, spices, ginger-garlic paste, and a little salt.

Chop two large onions. Heat the veg oil in a thick-bottom pan/ pressure cooker. Add the whole garam masala till they pop, followed by the bay leaves. Add the onions and fry till golden brown. Add the marinated mutton or chicken. Keep frying till you see the oil and the meat separate. Add salt to taste. Cover and cook till the meat  is tender. Do not overcook! I have suffered the pangs of an overcooked meat for a biryani and felt sorely embarrassed about it.

Chicken takes less time than goat meat or lamb, so adjust the timing. If you are in South Delhi, I’d recommend you to buy mutton from Khan’s shop behind Uphaar Cinema or from National Meat Shop in Malviya Nagar Market. The latter’s quality of meat is awesome!

Okay, since I digressed, I now come back to preparing the rice for this layered biryani.

Cook the Basmati rice as you would in a ratio of 1:2 of rice and water. Add a few drops of lemon juice to get all the rice grains separate. That’s a tip my Mum passed on to me and I religiously follow.

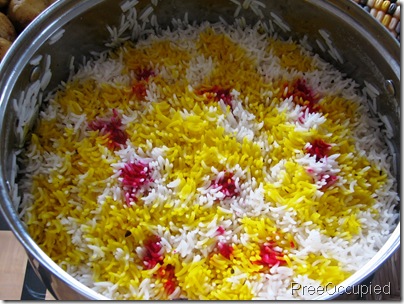
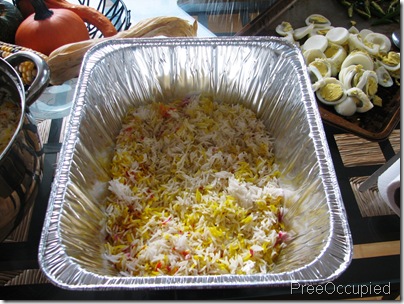
Once your rice is done, quickly sprinkle a few drops of the red and yellow (liquid) food colors. Cover the vessel.

DO NOT STIR THE RICE.

This way you will naturally color the grains in three colors- red, yellow/ orange and the natural white! I learnt this from a cook at my Mum’s place.

IMG_4149

Now prepare the onions for the layering. Thinly slice one large onion and caramelize it by deep frying in vegetable oil.

Take the bowl in which you will serve your biryani. This can also be served in a traditional biryani handi- you know the ones with the copper base!

On a spacious kitchen counter, arrange all the ingredients you will need to start layering the biryani including the boiled and sliced potatoes and eggs, chopped coriander and the slit green chilies.

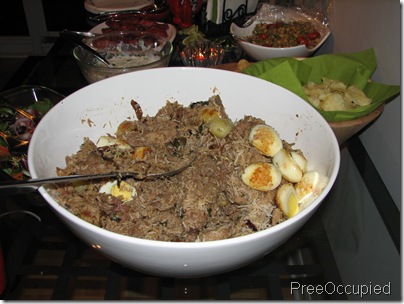
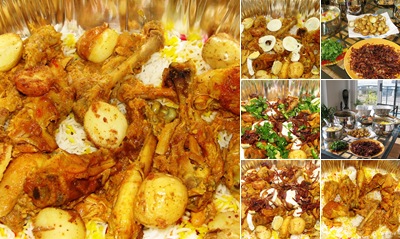
Start the bottom most layer with rice and start building up with the meat, caramelized onions, slices of eggs, potatoes, chopped coriander, green chilies. Complete it with another rice and continue doing so till you have space in the bowl.

IMG_4153

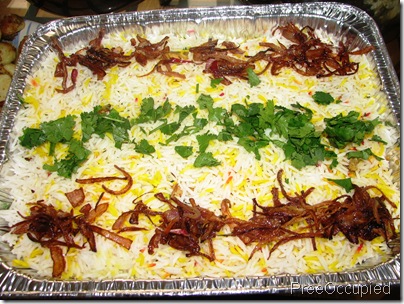
The top layer should ALWAYS be of rice!

Finish the look with the garnish of fried (crispy) onions, sliced potatoes and eggs, chilies and coriander.

Serve the biryani hot with raita and salad.

I also love to have this with the (Chinese) green chili sauce you get in India. But that’s a luxury I will have to live without…at least for now!

The pictures you see here are from a Thanksgiving Party. I made the layered biryani for P’s work place, where they had a potluck party just before Thanksgiving. This was for about 20 people. I was told it became an instant hit!

After doling out biryani this large scale, I was the uncrowned Biryani Queen among my set of friends!


IMG_4159IMG_4161

Thursday, January 28, 2010

Creative Chromosome

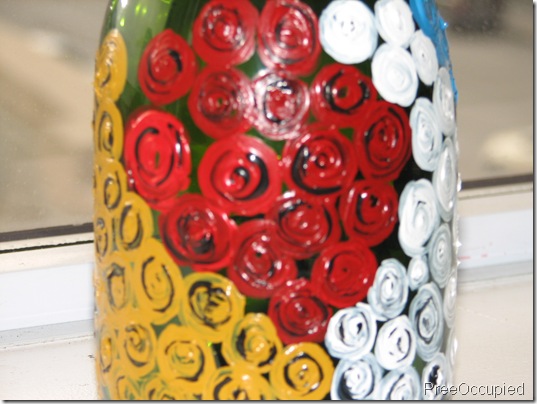
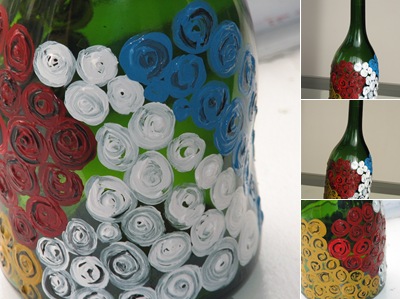
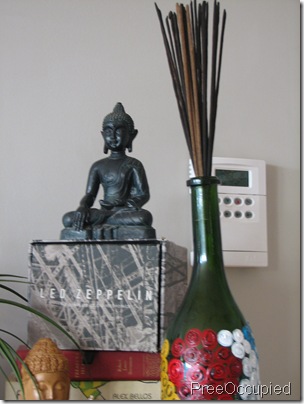
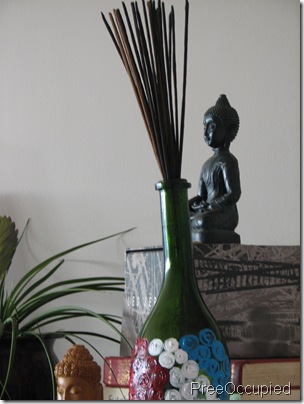
 3263286301323G I held on to this empty bottle of J.P. Chenet Shiraz from Saturday’s party. While the rest of the bottles found their way to the recycle bin, I knew this one was for keeps for its sheer shape.

When “A” brought this bottle over, she told me this was designed in a way to make pouring out its contents into a glass easy and spill-free.

An ergo wine bottle!


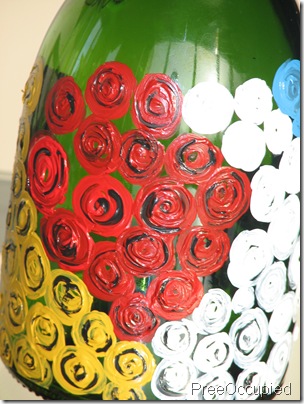
I hand-painted little roses in crimson red, titanium white, lake blue and ochre yellow, and highlighted them with carbon black.

IMG_5299

I did not know what was it leading to…

If nothing else, the recycle bin would look colorful the next day!

IMG_5305

I wanted to stuff some little lights in it and turn it into a lamp! But the lights I have did not give in to the small rim of the bottle, and I don't have a glass cutter either.

So here I am, using it as an incense holder until I am able to think of a better use for it…

IMG_5308

Or till you tell me what to do with it!

IMG_5310

Or I might just give it to a wine connoisseur like “A”, that is if she wants it.

P.S. While we are talking about wine bottles, I want to share this one with you! wine bottle
I picked this HUGE bottle of Henkell Trocken Champagne from a "kabadiwallah" in Lajpat Nagar Central Market. I went to a glass cutter and had a little hole done at the back, added a shade, a bulb holder and turned this into a lamp.
Before I left India, I gave this away to my father, who displays it now in his bar.

This picture is from my home in New Delhi, decked up for Diwali.

Monday, January 25, 2010

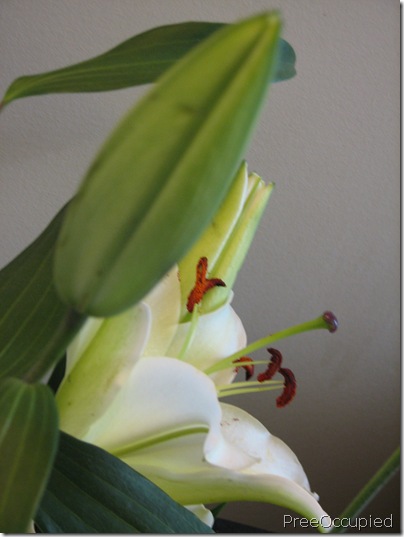
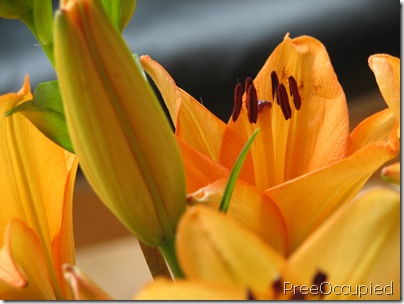
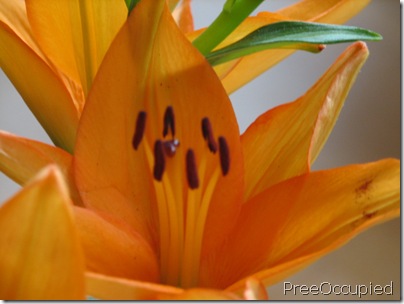
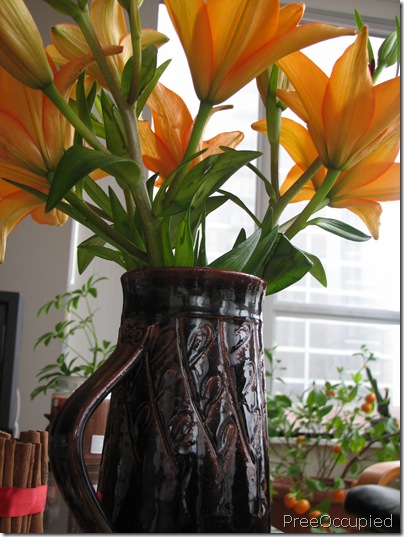
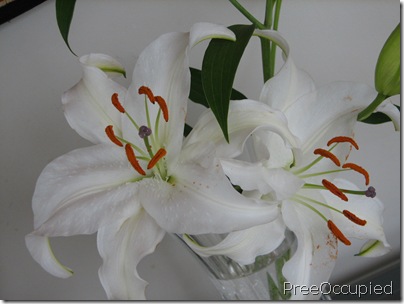
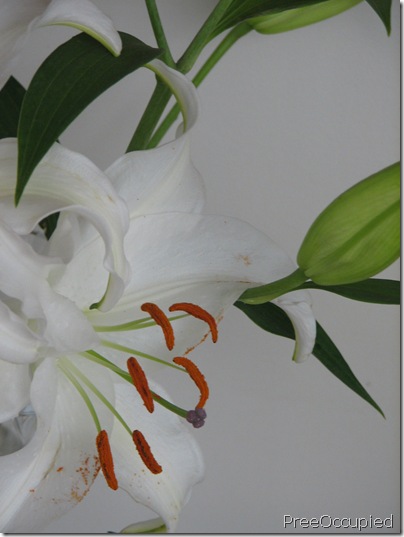
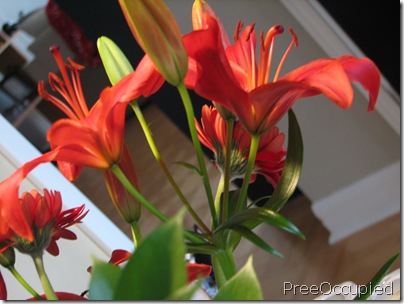
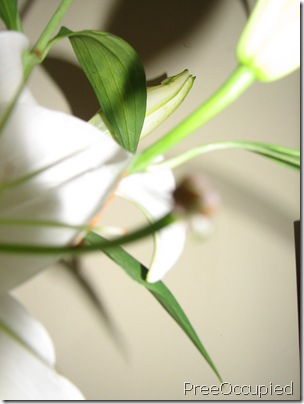
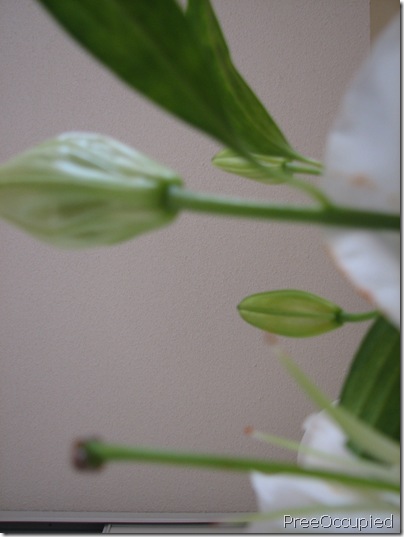
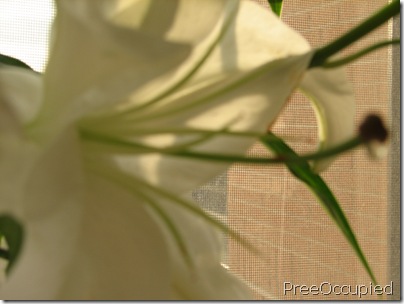
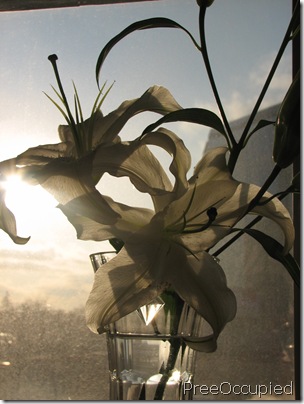
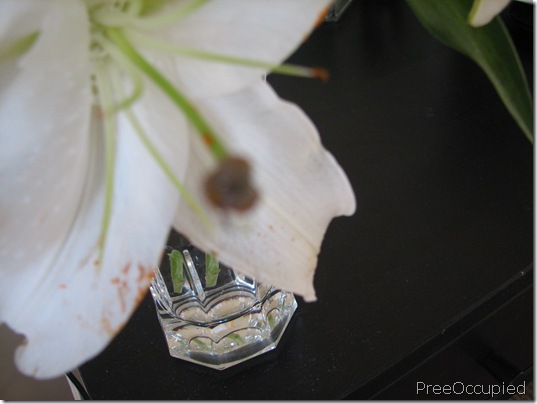
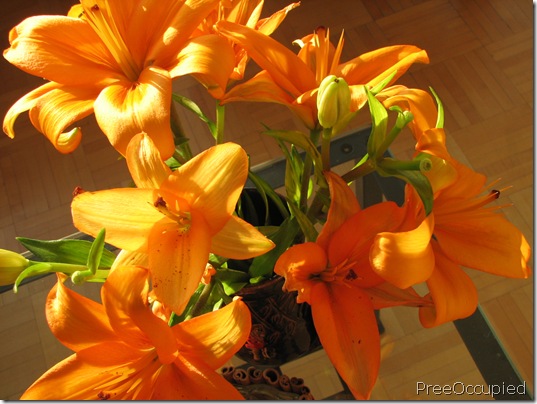
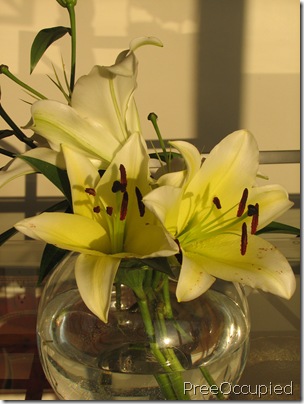
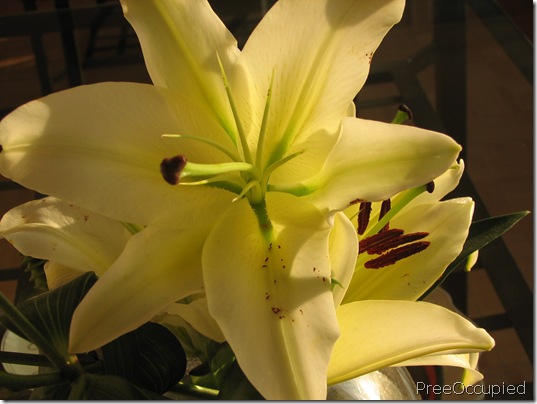
Apartment Therapy ~ Look Out For Lilies

When I am home, I keep my heart and my camera’s aperture OPEN!

And the result is often very satisfying…at least to my self.

Those things that are mundane and often just passed by, I try and focus on them.

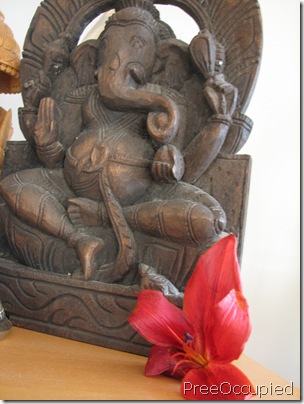
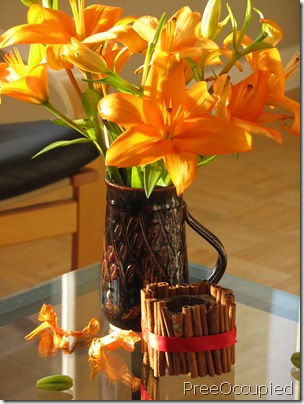
Today I have at least four vases of fresh cut lilies. Of course the red lilies are from V and T (you know who you are!).

Of course I am not CLEVER, and my photos are not visually STUNNING. But I do feel giddy each time I do something I thought was even a wee CREATIVE.

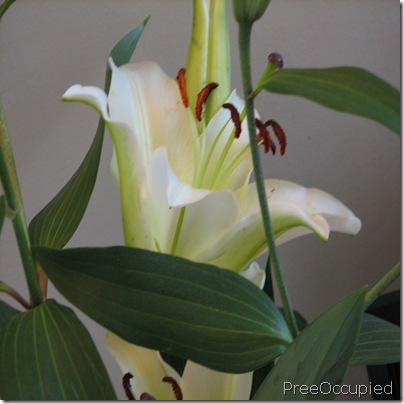
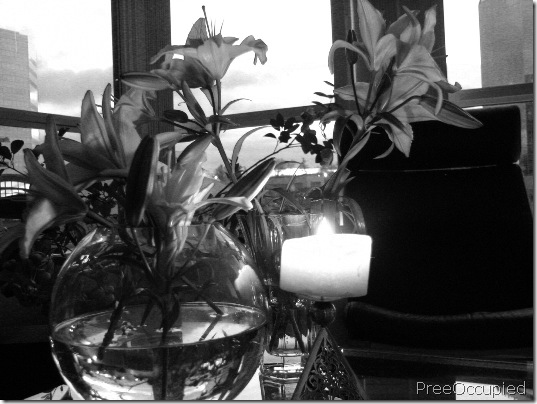
I am a gobbler for good things. And LILIES apart from being sturdy and long lasting flowers, also pucker up your home. Somehow they always work.

I know not all photographs have to be a reason for high emotional metaphor. But what the heck, so here I am sharing some pictures I clicked  a little while ago.

IMG_5256

IMG_5257

IMG_5258

IMG_5231

IMG_5259

IMG_5260

IMG_5261

IMG_5262

IMG_5263

IMG_5264

IMG_5266

IMG_5267

IMG_5271

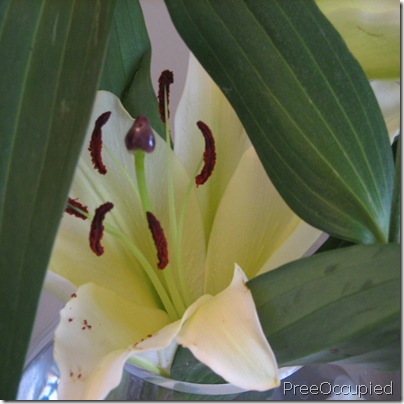
I was also told by the florist once, that the stamens should be removed so that the blooms last longer.

IMG_5273

Not sure if you can see the little drop of nectar here.

IMG_5277

IMG_5278

IMG_5279

IMG_5280

IMG_5281

IMG_5282

IMG_5285

IMG_5286

IMG_5287

A fallen red lily

IMG_5288

IMG_5289

IMG_5290

IMG_4453_phixr

These are pink lilies from another day!