Monday, August 05, 2013

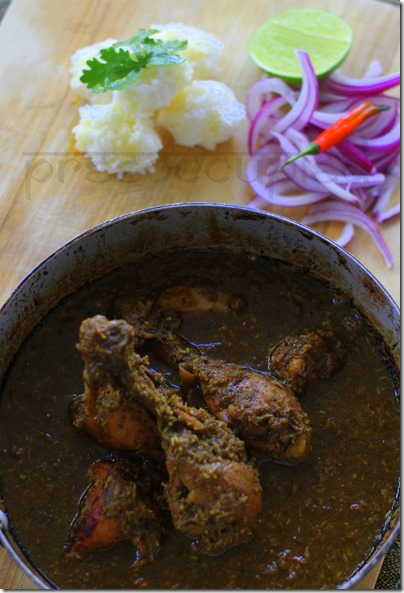
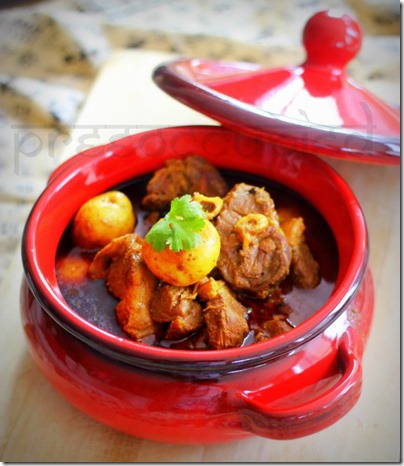
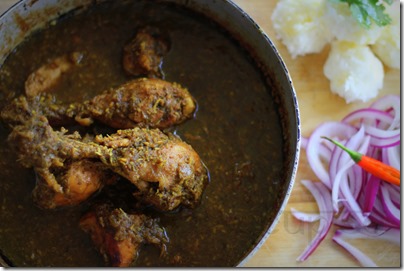
Uthapa Aunty’s Coorgi Murgi

Mrs Uthapa was my mother figure during my short life in Bangalore. She lived in the apartment next door and worked in a bank. She wore neatly pleated cotton sarees, and fresh Mallige (jasmine) flowers braided in her wet hair. She rode a Kinetic Honda to work at the State Bank of India.

“Aunty”, as you’d address any elderly lady in urban India, soon became quite friendly with me, and would even discuss things like her two sons’ careers and higher education with me. We would also exchange bowlfuls of freshly cooked food. I would give her a taste of my North Indian cooking fare, while she mesmerized me with her Pandi Curry and sometimes this Coorgi Chicken Curry.

The only thing I did not like was when she came with Bevu Bella (Neem and jaggery) during Ugadi. The neem from her hands brought out my extreme dislike of bitter. But she put a gun to my head and made me eat it and pretend I enjoyed it! My Mama would have been so pleased, because never in her life has she been able to make me eat neem-begun.

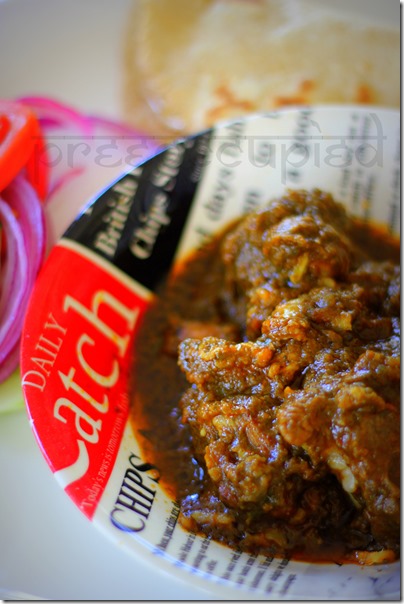
Anyway, here is how I made Uthapa Aunty’s Coorgi Murgi.

IMG_5971

Ingredients for Uthapa Aunty’s Coorgi Murgi are:

1 chicken, cut into curry pieces
1 large red onion, finely chopped
1 four inch piece of fresh ginger
6-7 tablespoons of freshly grated coconut (I used the frozen variety, Deep brand)
5-6 green chilies (Aunty’s recipe does not have them, but I do add them)
2 tablespoons tamarind extract
Handful of coriander, leaves and stems
5-6 cloves
2 pieces of cinnamon
1 teaspoon turmeric
1 tablespoon coriander powder
1 tablespoon black pepper powder
Cooking oil
Salt

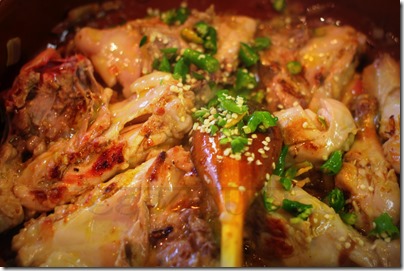
Start by heating the oil in a pressure pan. Add the chopped onions and sauté till they are lightly browned. Add the chicken pieces. Make sure there is no moisture in the chicken. Mix well and cover and cook till the chicken has turned brown.

Meanwhile, finely grind the cloves and cinnamon. You could use whole coriander seeds and dry grind them with the cloves and cinnamon. But I used store-bought coriander powder instead.

Add the powdered cloves, cinnamon, coriander, turmeric and black pepper powder to the chicken and coat the pieces well. Season with salt. Cover and cook for 5-6 minutes on low heat.

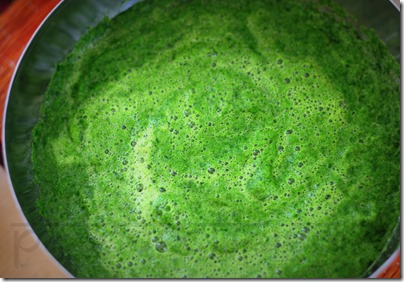
Now wet grind together the ginger, fresh coriander, and green chilies. Add this mixture to the chicken and cook for 5-6 minutes, covered. Add enough water to cover the chicken and spices. Cook till done, or you see oil releasing from the chicken and bubbling on the sides. Add the grated coconut now. And mix well. Let it bubble with the chicken for about 5-7 minutes. The coconut adds natural sweetness to the dish and thickens the curry.

Finish the Coorgi Murgi by adding the tamarind extract. Do a taste test and add more salt if needed. Serve with plain rice or with appams. And think how wonderful your life is to be getting your hands to such recipes which are family specials from faraway Bangalore. Thank you, Uthapa Aunty.

IMG_5967

Thursday, July 25, 2013

Mutton Saagwala for the Popeye of My Life

Its summer here. Which means we have an abundance of everything. Including spinach. But before that, take a look at the more colorful summerlicious moments I managed to see with my lenses.

IMG_5631

IMG_5635

IMG_5645

IMG_4254

IMG_4255

IMG_4260

IMG_4909

Gondho Lebu PreeOccupied

IMG_5422

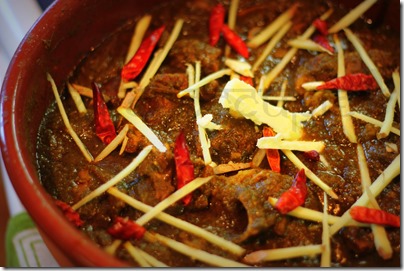
Now for the recipe for Mutton Saagwala, loosely translated as mutton (a generic term in India for goat meat) cooked in spinach. A healthy, delicious meat curry most often cooked in winters in India by many North Indian families. It has strange resembles to Palak Paneer.

Well, my two cents are that this dish could possibly be palak paneer for the hardcore mutton lovers.

IMG_5767

Ingredients for Mutton Saagwala are:

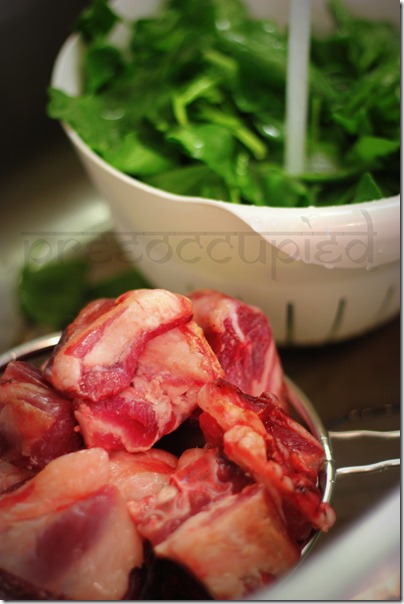
1 kg goat meat/mutton (I buy the shoulder portion with enough marbling from my butcher lady)
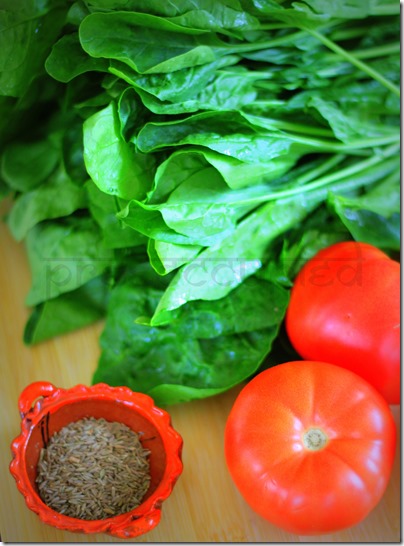
400 grams spinach, cleaned, washed, and chopped coarsely, stem and leaves, and pureed with little water
1 small can of tomato paste
1 large, juicy red tomato, pureed
1 large red onion, finely chopped
2 tablespoons freshly ground cumin powder
2 tablespoons pureed garlic
2 tablespoons pureed ginger
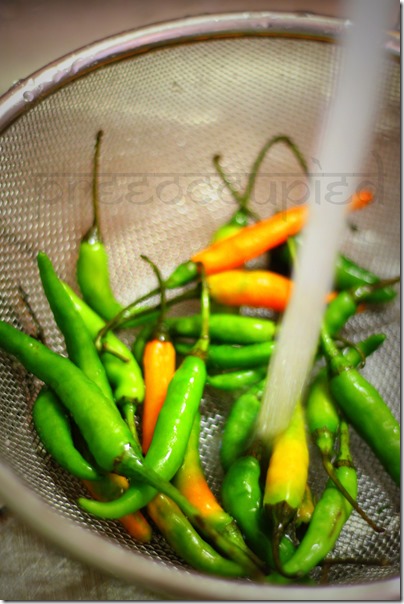
2 tablespoons green chili paste
1 teaspoon red chili powder
1 teaspoon turmeric powder
1 teaspoon garam masala powder (black+green cardamoms, cloves and cinnamon)
3-4 tablespoons ghee
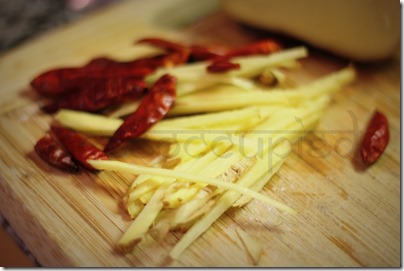
Julienned ginger for garnish
6-7 dry red chilies for garnish
A few shavings of (frozen) unsalted butter for garnish
Salt

IMG_5772

IMG_5776 
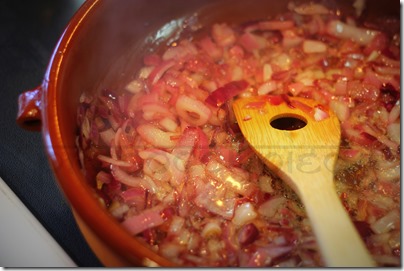
Start by heating the ghee in a large pan. Once it is really hot, add the onions and sauté till lightly browned. Add the meat. Make sure there is no moisture/water in the meat. This will help you get a nice, brown color to the mutton.

IMG_5777

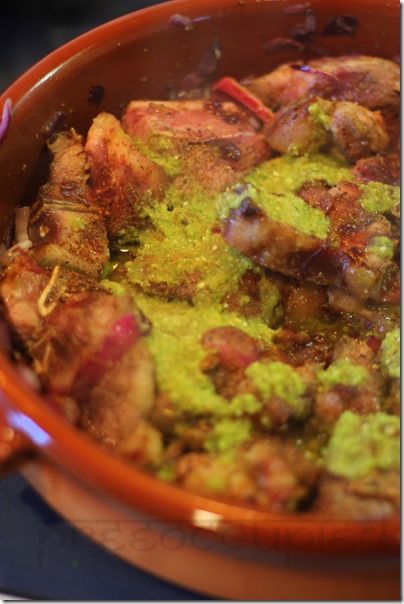
Add the green chili paste, cumin and garam masala powders to the meat and let it cook on low heat, covered all the time for 10 minutes.

IMG_5781

Now add the pureed ginger and garlic, season with salt (I use sea salt), mix, cover and cook for another 10 minutes.

Scrape the spices and onions from the bottom of the pan and let them cling on to the mutton.

IMG_5785

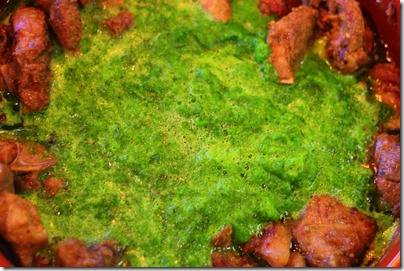
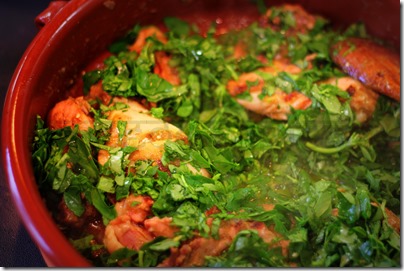
Add the pureed spinach, red chili powder and turmeric to the meat and mix. Crank the heat up to medium and let the pureed spinach bubble for about 10 minutes. Once you have spinach splinters attacking you, add the tomato paste and puree and cook covered for 10-15 minutes on low heat.

IMG_5790

IMG_5799

IMG_5802

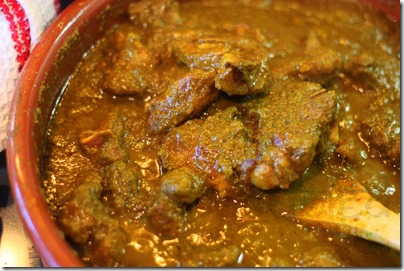
You will see the change of color in this dish – from a bright, green to a moss-colored. Slowly, but surely a thin line of oil will appear at the sides of your cooking pan. At this point, you have a choice of adding your work-in-progress Mutton Saagwala to the pressure cooker to cook through the mutton. I did that and waited till two whistles went off to cook my mutton.

IMG_5804

Transfer the Mutton Saagwala to a serving dish and garnish generously with shavings of unsalted butter, julienned ginger and dry red chilies. You can add some green ones too for added heat and color.

IMG_5807

Serve Mutton Saagwala with warm chapatis and salad. A meal like this should be consumed by keeping quiet, and listening to your own chomps and burps. Meals like this also make a family less cranky and more happy. I have proof. My almost-two-year-old sealed my Mutton Saagwala with her stamp of approval by saying “nice” and “wow”, all in the same breath in between her dinner.
Enjoy! 

IMG_5818

Tuesday, July 16, 2013

Ghar Ki Murgi with Methi Greens

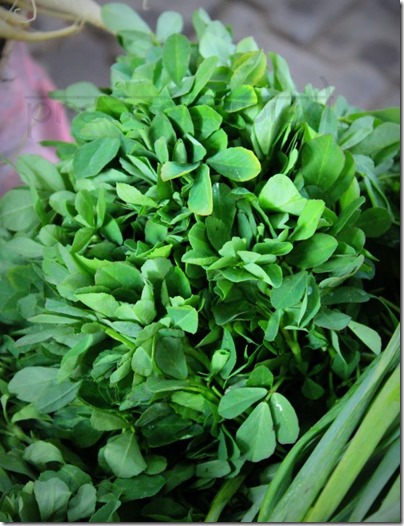
This is one of those recipes where everyday, boring chicken can be made into something interesting. We have been having an abundance of methi/fenugreek greens here at this time of the year. Perfect picker upper for an otherwise mundane chicken curry. And its so easy, you can sneak it into your dinner even on a crazy work day.

Methi_P1
My Mum used to make Methi Chicken as well during winters in India, when she was sick of rolling out theplas. We would eat this thickish chicken in fenugreek greens curry with hot, fluffy chapatis. The sauce would most often be clinging to the pieces of chicken, the methi leaves emanating a strange, bitter smell. Bitter in a good way.

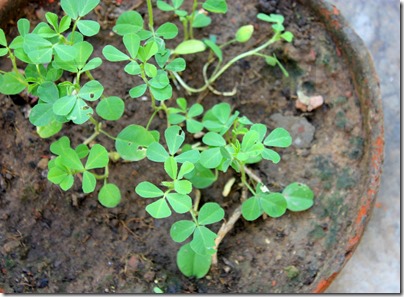
You can grow your own methi (microgreens) right in your balcony. Here is how! This is how my Ma-in-law grows her methi in Delhi.

Methi_P2

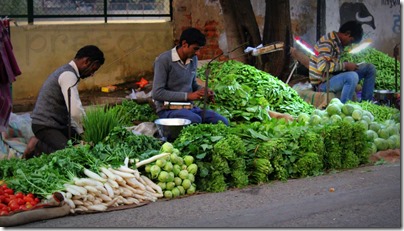
And this is how my Mum buys her methi greens in Jamshedpur.

Methi_P

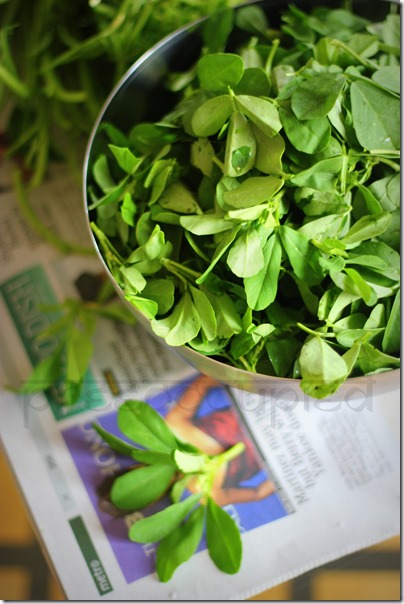
While I buy my tiny bunch of methi for $1.99 here from a supermarket, then meticulously pluck the leaves off the stem to finely chop them and prep them for this curry.

IMG_5574

Ingredients for Methi Murg are:

600 grams chicken, skinless please!
1 cup of finely chopped methi/fenugreek greens
5 tablespoons plain yogurt, whisked with one cup water
1 medium red onion, finely chopped
2 tablespoons ginger paste
2 tablespoons garlic paste
5-6 green chilies, finely chopped
1 small piece of ginger, julienned
4-5 tablespoons mustard oil
Salt

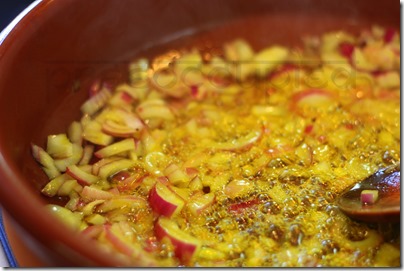
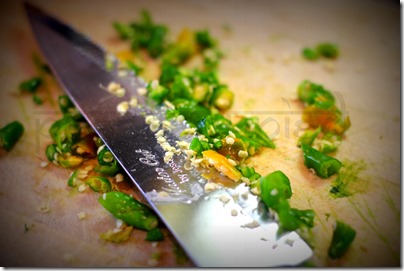
Heat oil in a large, flat pan. I used my clay/terra cotta pan. Sauté the onions till they are lightly browned. Add the chicken and green chilies and brown the chicken on both sides.

IMG_5686
IMG_5689

IMG_5690

Next add the pureed ginger and garlic and cook on low-medium heat till the chicken starts to release its juices.

IMG_5695
Now add the methi greens. Coat the chicken with the chopped greens and gradually turn the heat up.

After about 4-5 minutes of cooking the methi greens with the chicken, turn the heat off. Let the chicken cool down a bit.

IMG_5702

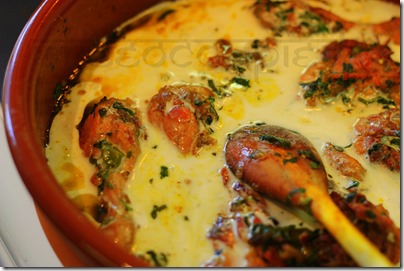
Now add the whisked yogurt, and a little water if necessary. Mix well. Turn the heat to low-medium and cook until chicken is tender and the sauce is thick. Also, the sign to look out for is to see if the chicken releases a thin line of oil at the sides. You know then that the spices have cooked through.

IMG_5708

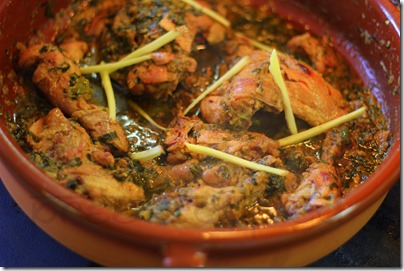
Season with salt and garnish with the julienned ginger. Your everyday chicken has now attained the prestigious title of Methi Murg and is ready to be served with soft, fluffy chapatis and salad.

Tuesday, July 09, 2013

My Notes on Phulko Luchi

  • Traditionally, luchi is made with all-purpose flour only. It’s called Maida’r Luchi in Bengali.
  • However, in many homes these days the use of maida has been toned down. 
  • What I do is, mix 1 cup wheat atta with 2 cups of maida and knead the dough with about two tablespoons canola/vegetable oil.
  • The dough for luchi has to be hard and not soft like the kind we knead for chapatis.
  • I knead my dough and keep it covered for about an hour and then knead it again to tighten it up and smoothen out any air bubbles.
  • Poke a finger to your dough, if you see a dimple form, you know your Luchi’r dough is perfect. 
  • In other words, your dough should be like a baby's bottom!
  • Divide the dough into slightly smaller-than-a-lime-size balls.
  • Round each ball by rolling it between the palms of your hands.
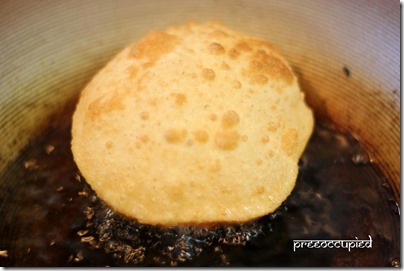
  • Roll out each luchi by slightly contacting the ball of dough with the warm oil from the karhai/wok. Luchi should be evenly rolled out and thin.
  • Luchi should be made in a round karhai. Usually it was a cast iron wok, large enough to fit a couple of luchis at one time. Modern day kitchens have replaced the traditional kodai/karhai with non-stick woks which work fine as well.
  • Heat vegetable/canola oil until almost smoking, and slide in the luchi. One at a time. 
  • With a jhanjhra/slotted spoon, press lightly to fluff up the luchi. 
  • Turn the luchi before it gets brown. Many families also add a pinch of sugar to their dough to get extra caramelization on their luchi, as sugar burns up quickly. You can do away with it.
  • It takes just a few seconds to deep fry a luchi.
  • Keep each puffed up luchi on paper towels for the excess oil to drain off.
  • Serve as you make them or immediately. 
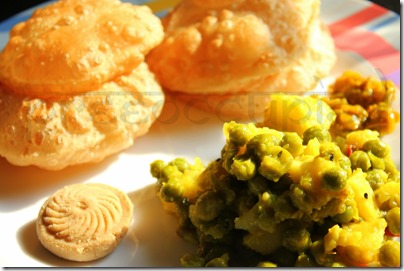
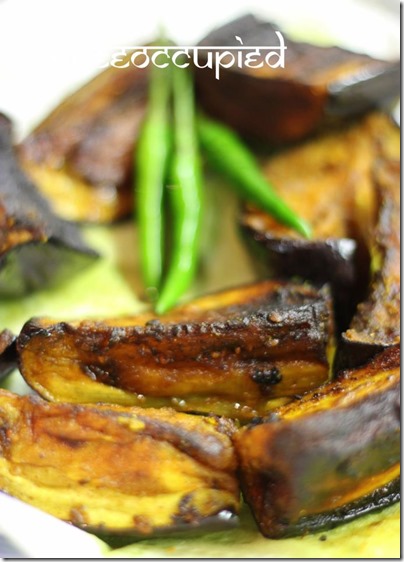
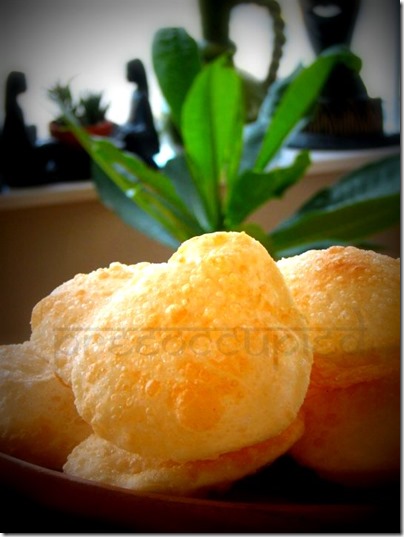
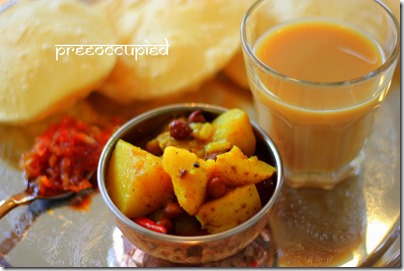
  • Luchi is best eaten with chholaar dal, mota-mota alu bhaja, begun bhaja, shada alur chorchori, kosha mangsho, ghugni, payesh, or kheer.
  • Jam, chini, jhola gur, bonde, doi, jilipi come a close second! ;-)

luchi tarkari

523144_466249480062987_1362935054_n

482225_542302162457718_1678138862_n

60118_154287747925830_688147_n

193778_465961090091826_1590293512_o

30625_127758217245450_351960_n

474025_377808018907134_300254200_o

Friday, July 05, 2013

Kheer Kamala for Khukumoni

Every summer, Didumoni would arrive from Muzaffarpur. To spend time with her grand daughter – the 12-year-old Khukumoni. The young Khuku studied in an elite boarding school in the hills and would come home for her summer vacations from  May to June every year.

IMG_5422

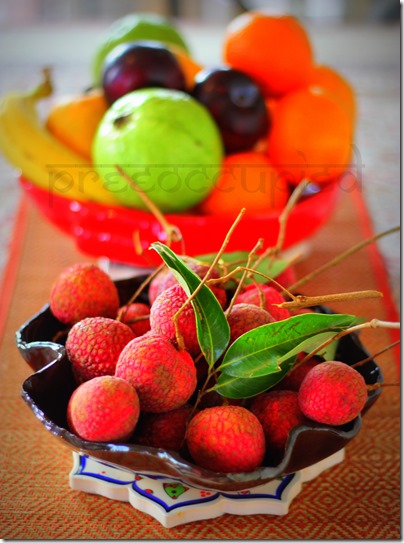
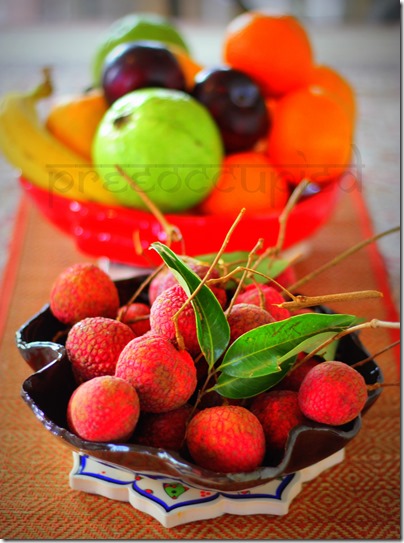
Didumoni would bring jhola-fuls of Shahi Litchi, Langra Aam, ripe Kanthal, dark, plump Jaam, sackfuls of rice and dal and gawa ghee and other seasonal homegrown fruits and vegetables for Khuku and her parents, Didumoni’s daughter and son-in-law.

Dadu always stayed back to take care of his barristery work. He would however send his old navy blue Aston Martin with red leather seats and his young wife of 58, the two most precious things of his life on a road journey with his most trusted Dhanushdhari Singh to Patna.

In June, Patna would be hot. A strong, hot, arid wind would blow all day making it impossible for humans and animals to be out when the sun was shining. The brave ones who ventured out would have their faces covered with a gamcha drenched in water. Others stayed indoors enjoying the cool breeze of their khus and mogra-scented air coolers. And some others spent their afternoon in the kitchen! Just like Didumoni.

Even in the scorching heat of 40 degrees, Didumoni and the young help of the house – Beenapani spent hours in the large kitchen making goodies for the family. Didumoni knew her time at her daughter’s home was limited to the one-month she spent with them every summer. She wanted to make the most of it. She wanted to make all of what she had learnt from her Mother and Thakuma.

unoon

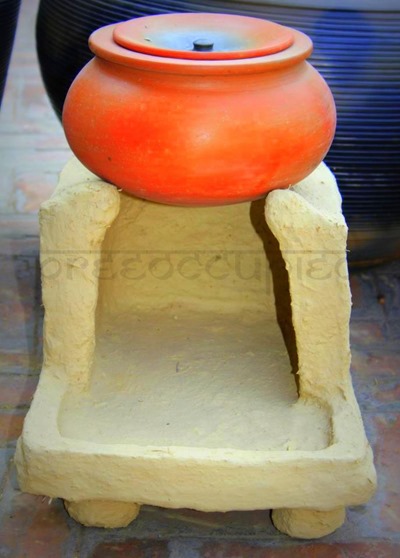
When Didumoni came to Patna, gas stove cooking would stop. The clay unoon would flare up, and Beenapani would fan it with all her vigor with the haathpakha  to make the embers go leaping like an untamed adolescent.

One late afternoon, Didumoni and Beenapani were busy slowly cooking the creamy milk to make kheer. It was a cooler day today and they kept the windows of the kitchen and bhandar ghar open for some ventilation.

Lucy, the family dog, whose pedigree no one knew or talked about lay on her back outside the kitchen. Her legs looking up as if asking the heavens to shower her with Didu’s kheer!

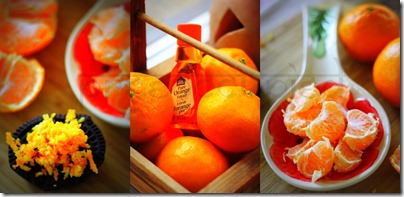
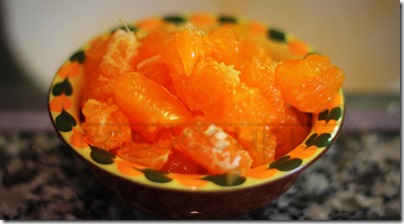
Beenapani was meticulously following Didu’s instructions and gently rolling the oranges between her palms to loosen the segments inside. Then, with deft fingers, she peeled each fruit to expose the juicy, delicious wedges. She was further instructed to remove the thin, white membranes off each wedge of orange and gently keep each piece of flesh in a bowl.

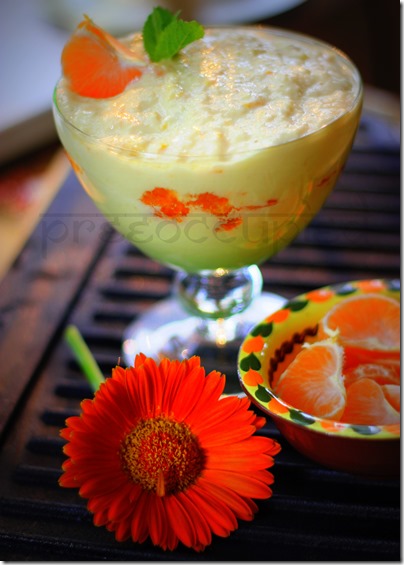
That, Didu said would complete the kamala kheer she was making for Khukumoni.

Just when Didu was finishing up ladling her kheer in a rekabi to go into the fridge, she heard a gentle yet sprightly whistling sound. Someone was standing by the bhandar ghor window and whistling!

The whistling sound was soon followed by a very familiar sound. A slight hiss made when someone disposes their liquid on a wall! Someone was relieving himself by the window!

This got Didu furious. She plucked the jug full of water from the floor and splashed it from the kitchen window, aiming towards the whistling visitor.

Clearly, the intruder was taken by surprise and let a startled squeal, which got drowned by Lucy’s full throated barking.

Meanwhile, Beenapani who did not want to be left out, stretched her arms out of the bhandar window and threw some orange peels and seeds at the hapless human with the gamcha around his neck who had succumbed to a full bladder.

Didu muttered a couple of chaste syntactic beep words in Bengali and cursed the dhuti-wala man who was taking a leak by their window.

Beenapani thought this would teach the man a lesson and continued to praise Didu and tell her how clever she was to splash him with water.

Just then the sharp bell of the door at the entrance of the garden rang. Beenapani and Lucy sprang in action and went running to the door.

There was Masterji, Khukumoni’s Hindi tuition teacher walking in with his rickety bicycle, his wet gamcha lying limp on the handlebars of his rickety Atlas cycle. His head heavy and chin drooping. His limp, wet tiki lay curled on the crown of his bald head.

Beenapani realized who the intruder by the window was and quietly tip-toed away to Didu. She whispered her great discovery with bouts of giggle in Didu’s ears. Didu was nodding her head and suppressing a laugh all at the same time.

Didu bit her tongue and winked at Lucy. Lucy let out a boisterous, long yawn and returned to doing what she did best - sleep.

IMG_4765

Later, Didu asked Beenapani to take a bowl of chilled Kheer Kamala to the study for the Hindi teacher Masterji. That should work as a peace offering. After all, teachers are incarnations of Gods. A bowl of cold thickened and flavored milk and fresh, juicy oranges should re-ignite a damp ego and get that floppy tiki spring back up with pride.

KheerKamalaPreeOccupied

Ingredients for Kheer Kamala are:

1 liter half and half
2-3 oranges, peeled and each section cleaned off the white membranes/threads, and opened up to expose the edible flesh
5-6 drops of orange essence
1 heaped tablespoon of zest of orange
Sugar to taste

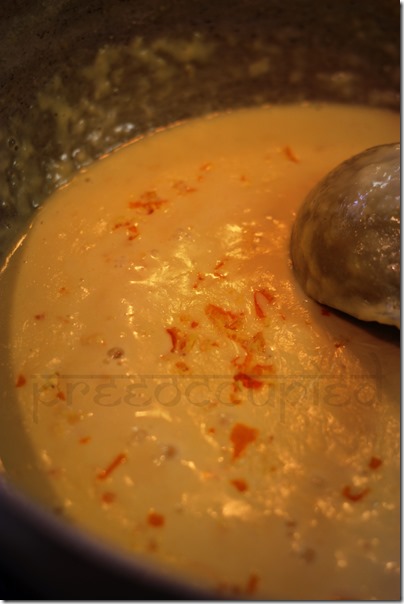
Slow cook the half and half till it reduces to a thick, creamy consistency. It usually takes about an hour of cooking on very low heat and stirring continuously to get to the kheer consistency.

IMG_4759

Midway of the cooking process, add the zest of orange and the orange essence. Keep stirring continuously and scrape any thickened milk and cream from the bottom of the pan. Turn the heat off and stir in sugar to taste. Let the kheer cool off. Chill for a few hours.


IMG_4761

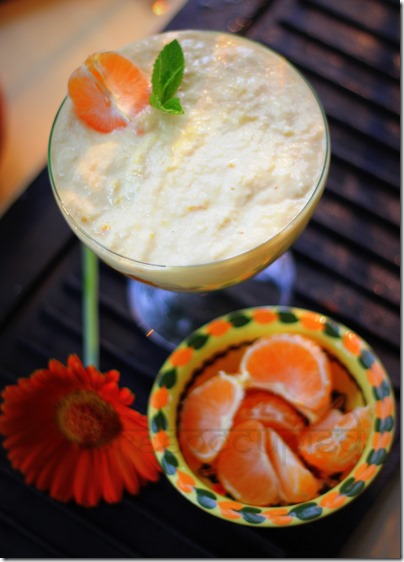
Gently fold in the sweet, juicy pieces of orange into the chilled kheer and serve. Your Kheer Kamala is that simple. But you’d agree, most precious things are simple. Just like our own grandmothers.

IMG_4769

Wednesday, June 19, 2013

Shrimply Hot and Spicy Chingri Maacher Bora

I love my chingri. And I love my camera. But there are days that even my iPhone can take award-winning pictures! Especially the nights no one wants to wait for a food photo set up and all that drama of an elaborate spread at the dinner table.

camera

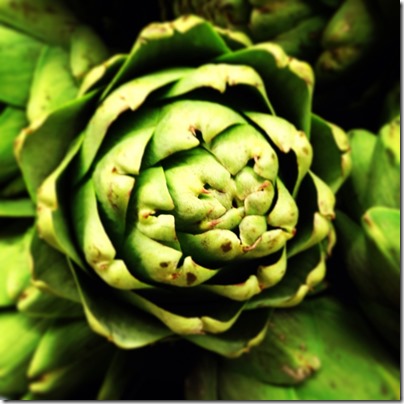
And Instagram? That makes phone photos look even better. I am an avid Instagrammer. In my mind, all my photographs are prize-winning. Including the lame artichoke picture I took one day while buying groceries at Bloor Street Market. But artichokes don’t make chingri’r bora. Pink, juicy, shrimps do!

artichoke

Now these chingri boras are very deceptive in nature. You might get tempted to gobble them all up when they come out golden and crispy from the wok while you are frying in more. Or you may just behave and exercise that wavering self-control and serve these beautifully, hand-crafted shrimp fritters to the ones you love. I promise they will love you back.

photo (15)

Ingredients for Shrimply Hot and Spicy Chingri Maacher Bora are:

500 grams largish shrimps, deveined, de-shelled and cleaned (I used tiger shrimps)
1 medium size red onion very finely chopped
Handful of green chilies very finely chopped
Two inch piece of fresh ginger very finely chopped
7-8 fat cloves of garlic very finely chopped/minced
Handful of fresh coriander very finely chopped
2-3 tablespoons besan
4-5 tablespoons rice flour
1 egg
Salt
Mustard /canola oil for deep frying

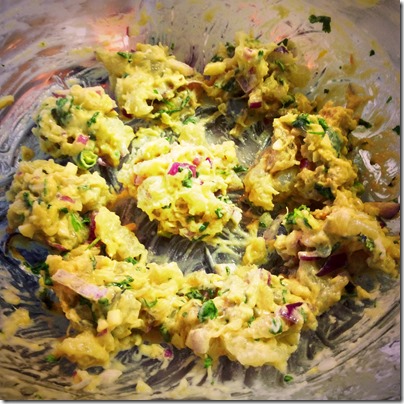
Start by cutting very small pieces (something in between mincing and chopping) of the cleaned shrimps. In a large bowl, add all the ingredients (except the oil!) and pound together. I did not add any water, since my shrimps were frozen and thawed, which meant they had a lot of moisture in them.

Growing up, I saw Mum pulverize her kucho chingri in the food processor or have the help grind it coarsely on the sheel nora for her chingrir bora. But you can work with my method as well if you don’t mind getting a little messy on the chopping board.

photo (12)

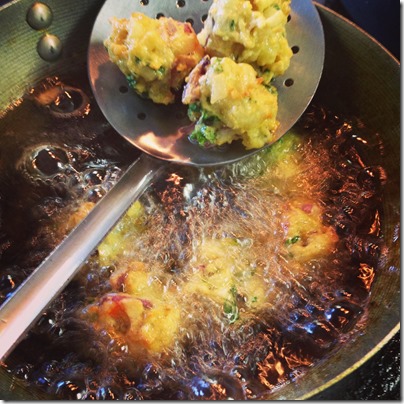
Make tiny balls of the shrimp mixture and deep fry in hot oil.

photo (18)

photo (13) Make sure you have the oil really hot and then reduce the heat to medium while the boras are frying. This way they will cook through and you won’t end up with raw insides smelling of raw shrimps!

Fry the shrimp fritters in small batches till they are lightly browned. Remove with a slotted spoon and drain excess oil on paper towels.

photo (17)

1000173_587045017983432_682037520_n

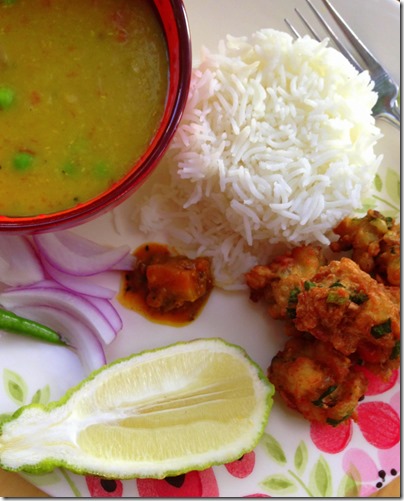
Serve with rice, mushurir dal, kurkure alu bhaja and salad or pass a try full of these chingrir boras with your favorite cocktails. You will definitely have people asking you for the recipe.

P.S. The pictures in the post are all from my iPhone. It was convenient because we were so hungry. Not because I have single digit IQ and can’t handle a camera.